Thursday, July 1, 2021

                                Vision, Mission, and Values Of  Street Photography.

                                                                                        by - ABHAY PATEL

So In this blog I am going to talk about everything that I learned from Street Photography from the past few years till now. When I started to follow street photography I became the version of myself. Firstly I would like to write about " VISION " in Street Photography. 

New Delhi, India by Abhay Patel

So Vision for me In street photography is to see something without your camera ( Naked Eyes). In Street Photography it is very important to know where to position your mind, eyes, and body. 

Every object In street Photography is important for you. it helps to grow your vision and your skills. 


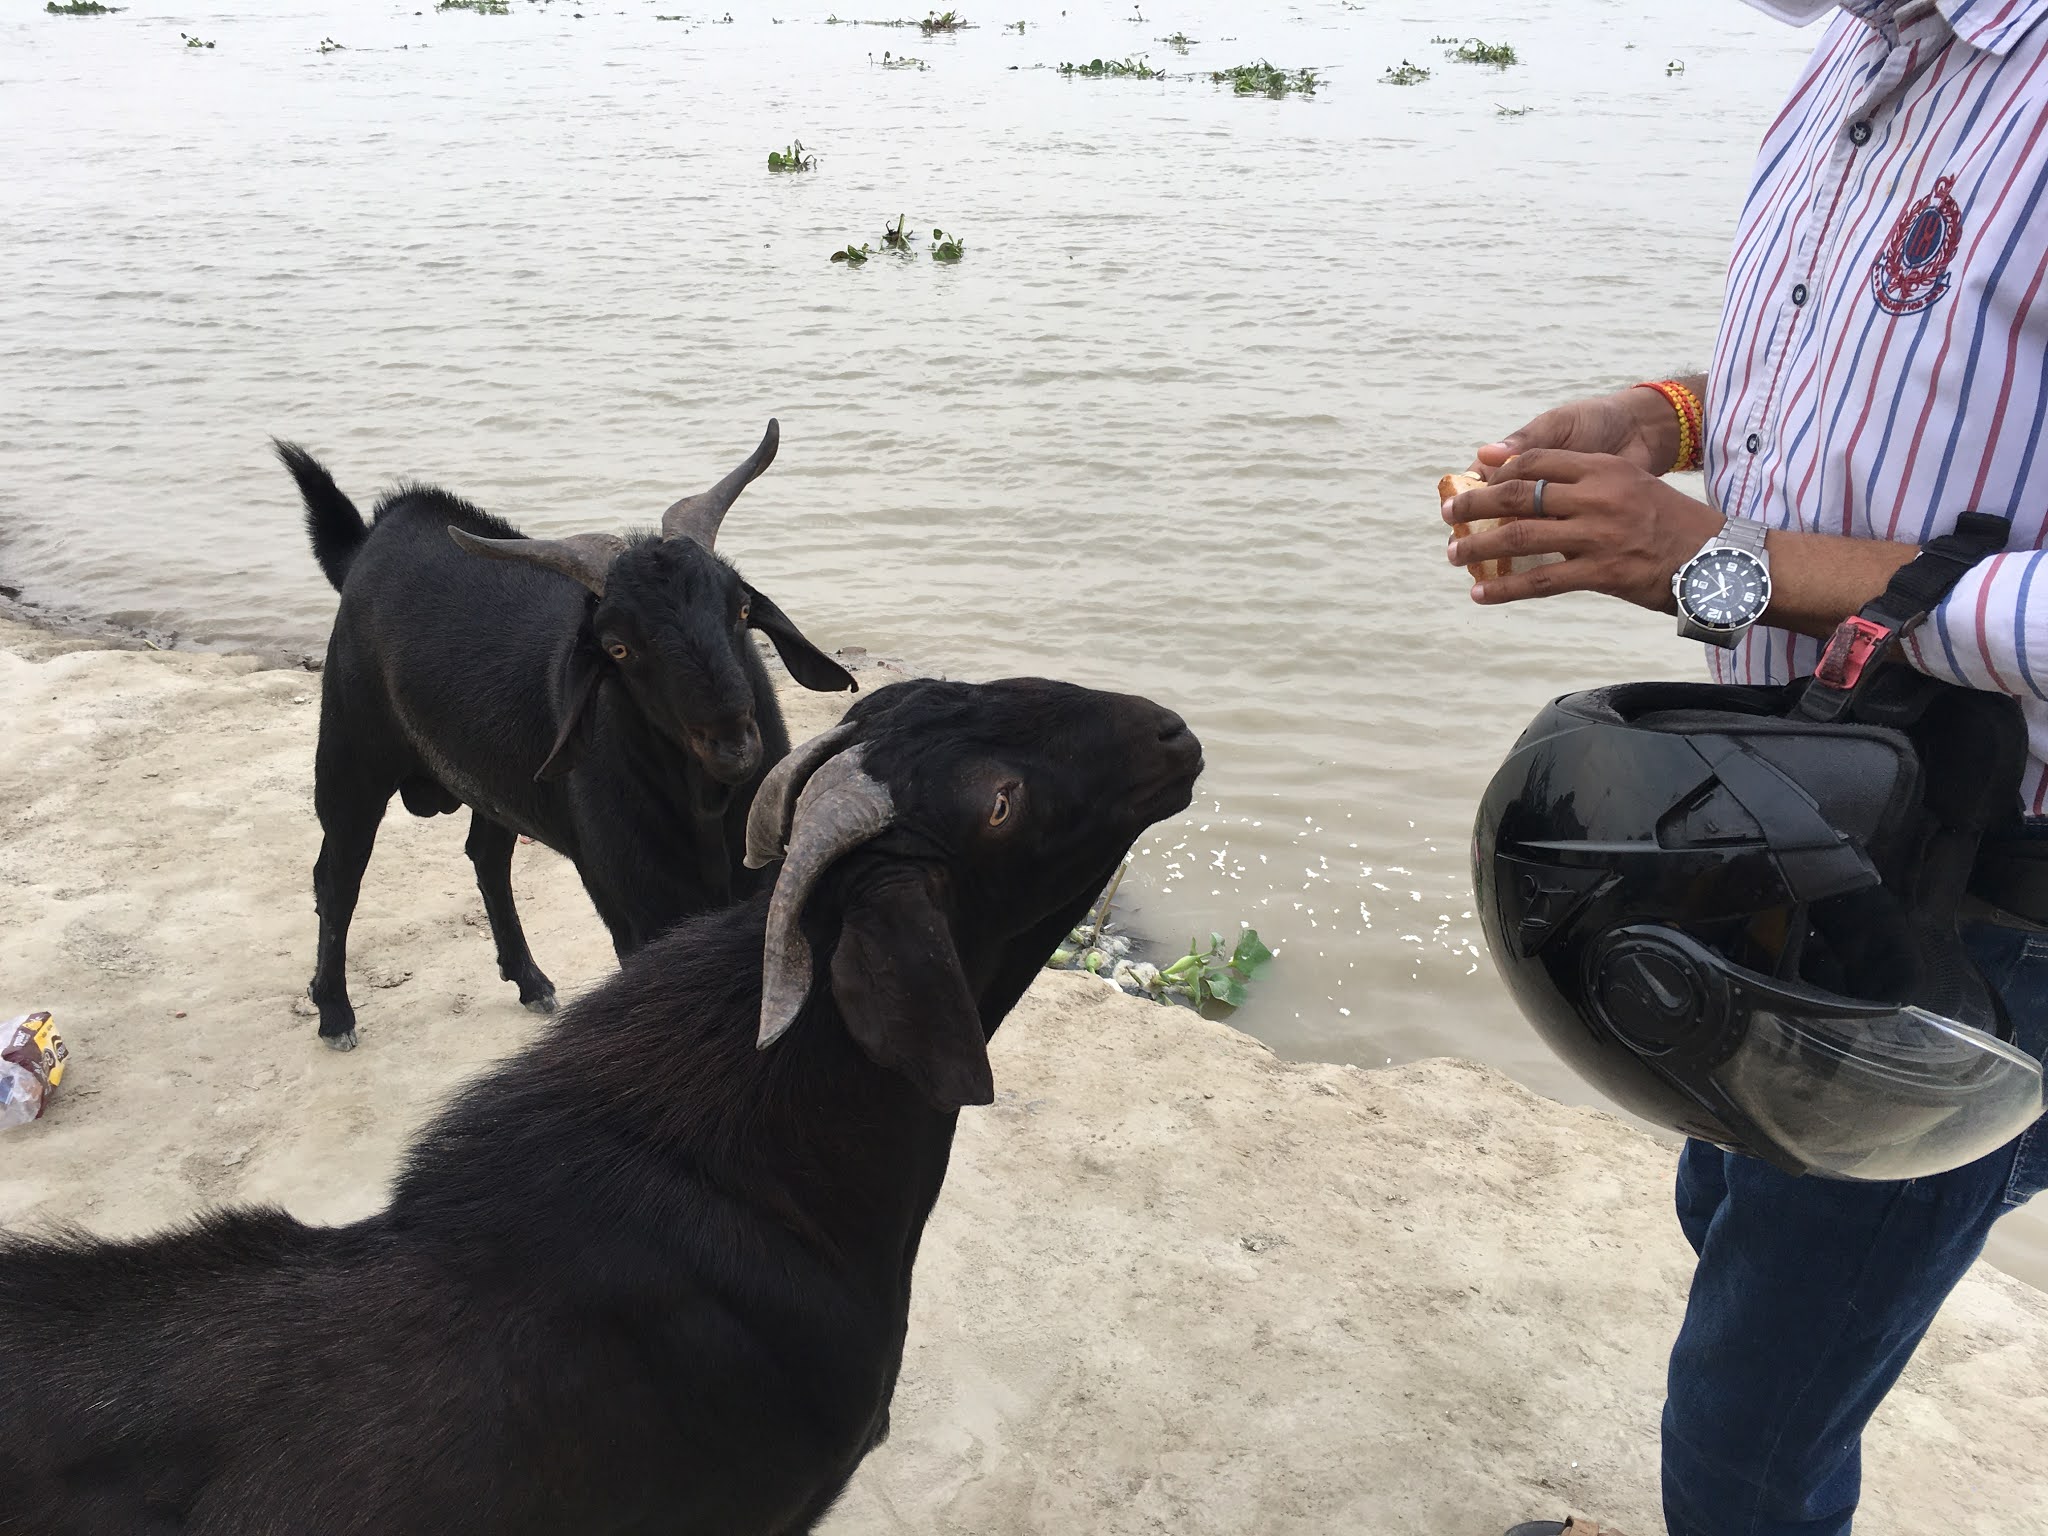
Now again What more you know In Street Photography that is " MISSION " which is also a very important part of street photography. 

Kanpur, India by Abhay Patel

Mission in sense one should know the purpose of clicking an Image. Sometimes we get confused about what to click and for whom which is the very obvious question that comes in every photographer's mind as per my point of view.


Hyderabad, India by Abhay Patel

In every kind of Photography, we should know "what not to click" rather than know "what to click". for that, we should learn about observation in street photography if we know how to observe things in the street we can easily frame our image in the right direction or Mission. 


New Delhi, India by Abhay Patel


The best way to increase your skills in street photography is to "learn" and "unlearn". In other words, take advantage of the observational skills you have acquired and put them into practice. 


Kanpur, India by Abhay Patel


It's very important in street photography to notice and identify the ordinary things to Extraordinary.  for me street photography is a medium of connections, where most of the time we use to connect Non-Livings things with Living things. as you can see below 

Hyderabad, India by Abhay Patel


Now we move into our next part of street photography which is "VALUES"

So what you know about values in street photography, yes it is true to value your images and art but what is more important for me is to value someone's Emotions, Drama, Love, and Caring. I think if we consider all these things in our mind while clicking images in street we will definitely get more good results.

Pushkar, India by Abhay Patel


it is very important to understand how to value your subject's emotions and love also sometimes "Hate".

why Hate? it is because you are clicking candid moments in the street which is not so much good for many also as not everyone is familiar with the camera sometimes people get angry or conscious in that case you should remember in your while clicking to value them also. 


New Delhi, India by Abhay Patel


Remember about photographing and viewing art is a valuable way to improve your work and yourself, to become "Professional" is to get out in the "WORLD" and start "PHOTOGRAPHING" it. 

Navi Mumbai, India by Abhay Patel


Thank you for reading my blog.

First, I’d like to thank you for visiting my site and taking a moment to read my first blog entry.  I hope I can provide some useful information here that will help you solve some problems you may be having with your property.
  I hope you come to visit again soon!
  
 Instagram - @_prin_photography 

https://instagram.com/_prin_photography?igshid=wv3drhg4c67


Tuesday, August 6, 2019

Learn About Photography And Their Types.


iphotograph
                                                *ALL ABOUT PHOTOGRAPHY*

                                                         *CAREER IN PHOTOGRAPHY*
*Automobile photography  
*Business&Industrial Photography
*Event Photography.
*Fashion Photography.
*Forensic Photography.
*Photojournalist.
*Product & Commerical Photographers.
*Wild-Life Photographer.


                                                   *TYPE OF PHOTOGRAPHY*
🡪PRODUCT PHOTOGRAPHY.
🡪WEDDING PHOTOGRAPHY.
🡪CANDID PHOTOGRAPHY.
🡪PORTRAIT PHOTOGRAPHY.
🡪ARCHITECTURE PHOTOGRAPHY.
🡪WILD-LIFE PHOTOGRAPHY.
🡪LANDSCAPE PHOTOGRAPHY.
🡪STREET PHOTOGRAPHY.
🡪FOOD PHOTOGRAPHY.
🡪MACRO PHOTOGRAPHY.
🡪FLOWER PHOTOGRAPHY.
🡪LIGHT PAINTING PHOTOGRAPHY.
🡪LIGHT TRAIT PHOTOGRAPHY.
🡪MARINE PHOTOGRAPHY.
🡪CONCEPTUAL PHOTOGRAPHY.
🡪AERIAL PHOTOGRAPHY.
*ASK YOURSELF TO CLICK PHOTOGRAPHS.
*DO YOU LIKE TO EDIT PHOTOGRAPHS.
*DO YOU LIKE TO PLAY AROUND WITH CAMERA.   
               
                                        [know About DSLR]
*SHUTTER-SPEED
*ISO

*ZOOMING
*APERTURE
*DEPTH FIELD
*SENSOR
*CAMERA LE
*FOCUS
                                              *iPHOTOGRAPH*
--BASIC OF PHOTOGRAPHY
Photo+Graphy = Light + Drawing
-Drawing with Light is 'Photography'.
-Camera is the light reading device.       
                       
          -EXPOSURE-(Part-1)
"Exposuren is mainly use for balancing light."
-[put your camera on mannual mode]
{M-Mode on Camera}
*Look at the subject through view finder.
 *Take photos at (ZERO) always.
                                                                                                                                    *Exposure Depends On*
->Aperture.
->Shutter-Speed.
->ISO
       
                                               *APERTURE*
-How to set Aperture?(function of Lens)
*First put your camera on manual mode (M-mode).
*(if the hole is opened{camera takes more light}).
*(if the hole is closed{camera takes less light}).
Suppose that , while taking any //Landscape Picture// Where the sunlight is more.(Hole Closed)
*Main work of aperture is to control light.
*Door Open ---> light enters Max.
*Door Close ---> light enters Mini.
F-NUMBER MINI = Aperture open more (light Max.)
F-NUMBER MAX.= Aperture close more (light Mini.)

                                                                   
                             *SHUTTER-SPEED*
(Shutter-Speed = Time)
---->While taking Photos at Night  use SlowShutter Speed.
----->While taking photos of high moving objects use high shutter speed .[Ex.Fighter planes ,ceiling fan , High speed vehicles etc.

          *International Organization for standardization*                                                    (ISO)
*To get some more good photos put ISO less.
(like around 100).
*If you are shoting photos in dark then put your ISO max.

                             -EXPOSURE:-(PART-2)

*FOCUSING =  Make your Sharp
:-FOCUSING:-
NON-MOVING SUBJECTS- (like- Portrait ,Product Photography)
 FOR CANON USERS – USE AUTO FOCUS(S)MODE

 FOR NIKON USERS – USE (ONE-SHOT)MODE
MOVING SUBJECT- (Playing , WILD-LIFE , Running , fighter Planes ,etc)
FOR CANON USERS – USE (AI SERVO)MODE 

FOR NIKON USER – USE AUTO FOCUS(C)MODE                                        
                      *BE A BETTER PHOTOGRAPHER*
*IMAGE QUALITY.
*WHITE BALANCE.
*EXPOSURE TRIANGLE.
*METERING.
*FOCUSING.
[CANON CAMERA DISPLAY MODES FOR NON-MOVING OBJECT]
[CANON CAMERA DISPLAY MODES FOR MOVING OBJECT]

*IMAGE QUALITY*
L- Large , S- Small and M- Medium.
                                                   
                                                            *WHITE BALANCE*
🡪White balance is one of the key parameter which decide what type of colours you want in your image.
🡪White balance is nothing but telling the camera to get white colour as a proper white depends on lighting
situations.
*AUTO(AWB) 🡪 Camera Automatically determine white balance setting.

*DAYLIGHT 🡪 Use when direct sunlight hits the subject to add warm tones.
*SHADE 🡪 Use when subject is covered under the shade. Add more Red/orange tones to compensate for blur tones found in shades.
*CLOUDY 🡪 Use on overcast days and/or with portraits. Similar to daylight mode, but adds warmer hues which are often desirable in landsacpe and Portraits.
*CUSTOM 🡪 You use white and middle grey object to set white balance or hold a coffee filter over your lens while pointing your camera towards the light source to set your custom white balance. Setting will continue until you change WB settings.
[TRICK- Point your camera at a colour object and your resulting photos will have a color cast object the color to which to set it. Set it on something blue and photos come out be yellow , set it on something purple and photos comes out be green. Point it on something warm and you will get cold and vice versa.]
*WHITE FLUORESCENT LIGHT 🡪 Use in photographing in gymnasiums , office etc to compensate for fluorescent lighiting. This will add warmer (red/orange) tone to compensate for (green/blue) tones.
*TUNGUSTEN BULB 🡪 Use when photographing in homes lit by artificial light to add cooler (blue/purple) tones to compensate for too many orange/yellow hues.
                                                           *METERING*
                       

Thank you for reading my blog.

First, I’d like to thank you for visiting my site and taking a moment to read my first blog entry.  I hope I can provide some useful information here that will help you solve some problem you may be having with your property.
  I hope you come to visit again soon!
  
 @_prin_photography 
https://instagram.com/_prin_photography?igshid=wv3drhg4c67